How to Winterize an RV?
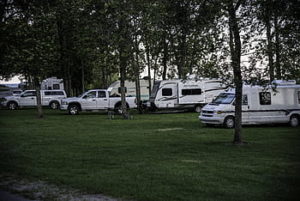
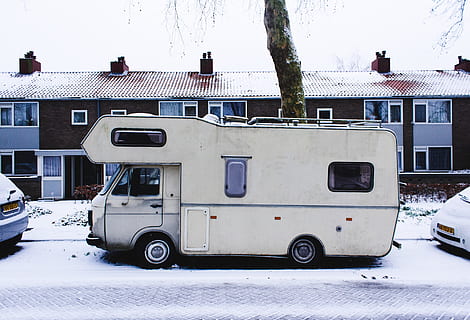
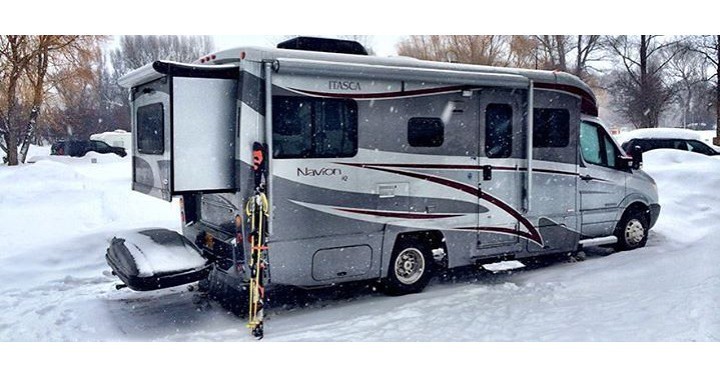
Winter is right around the corner. For those of you who live in an RV, it is crucial that you prepare it for the coming season. It is a process called “winterizing” your RV. This is the process of protecting anything – an RV, a house, or even a car – from the harsh effects of winter.
One of the big problems with the RV and winter is the various plumbing, water, and moisture to protect and hide. In addition, it will have RV owners prepare the interiors, exteriors, and even chassis parts.
Doing so will allow you to save much needed expenses in the long run, especially when the winter eventually goes. Failure to do so could result in busted pipes, water damage, and condensation that may affect other parts as well.
There is always the option of bringing your RV to a maintenance shop. They’ll help get you sorted out. However, if you are handy with tools, you can do it yourself, save on costs, and add some much needed knowledge and practice to your RV life.
Plumbing
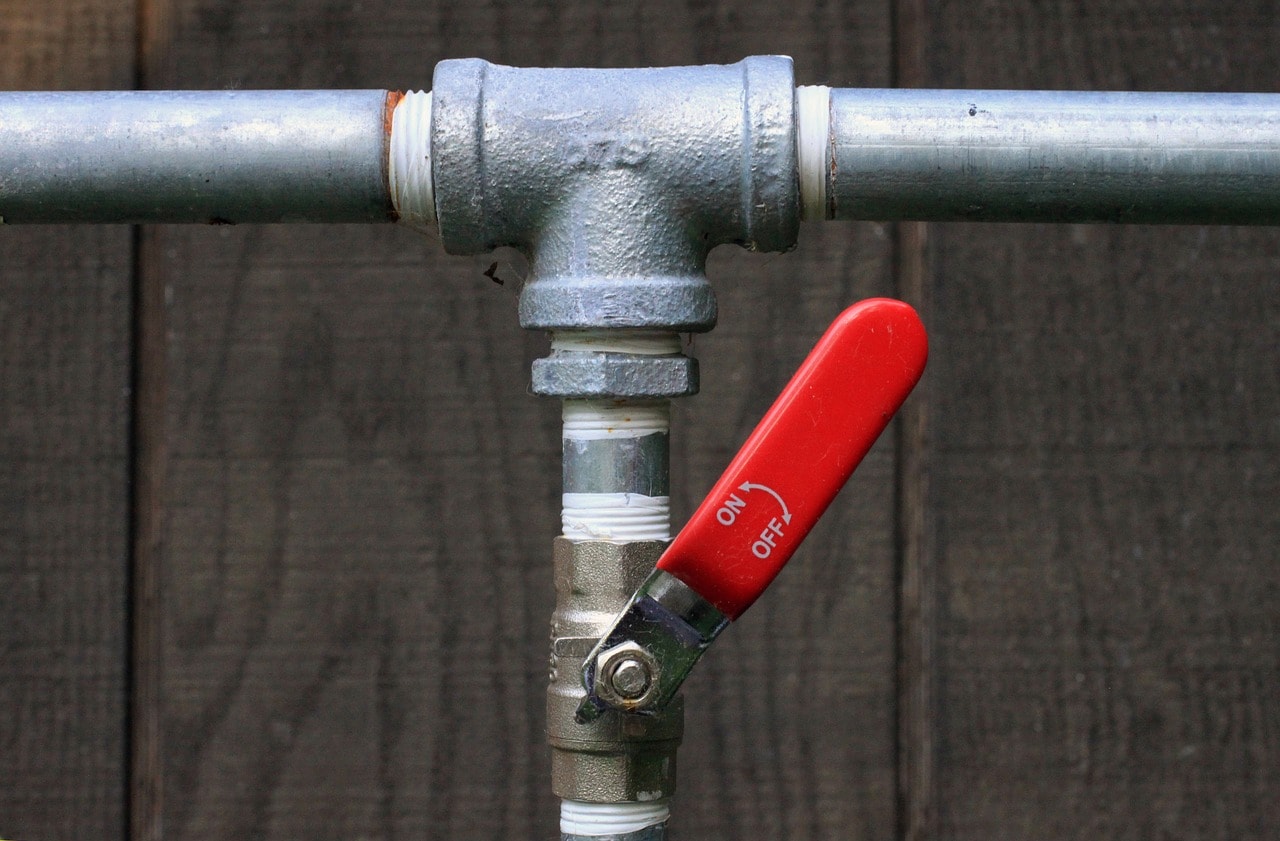
The first thing to winterize is the RV’s plumbing system. As stated before, this is one of the most important parts to take care of prior to the winter season. It will entail draining water from pipes, faucets, valves, and pumps.
If any water is left within any of these parts, it could lead to damages. Since many of these parts are buried within walls, cabinets, and interiors, this will cost a lot of money.
For this, the whole system needs to be drained.
Method 1 – Use Compressed Air to Blow Out the System
The first and simplest method to do so is using compressed air. While the method is easy and simple, the glaring problem here is that a person can’t be sure if all the water has been blown out.
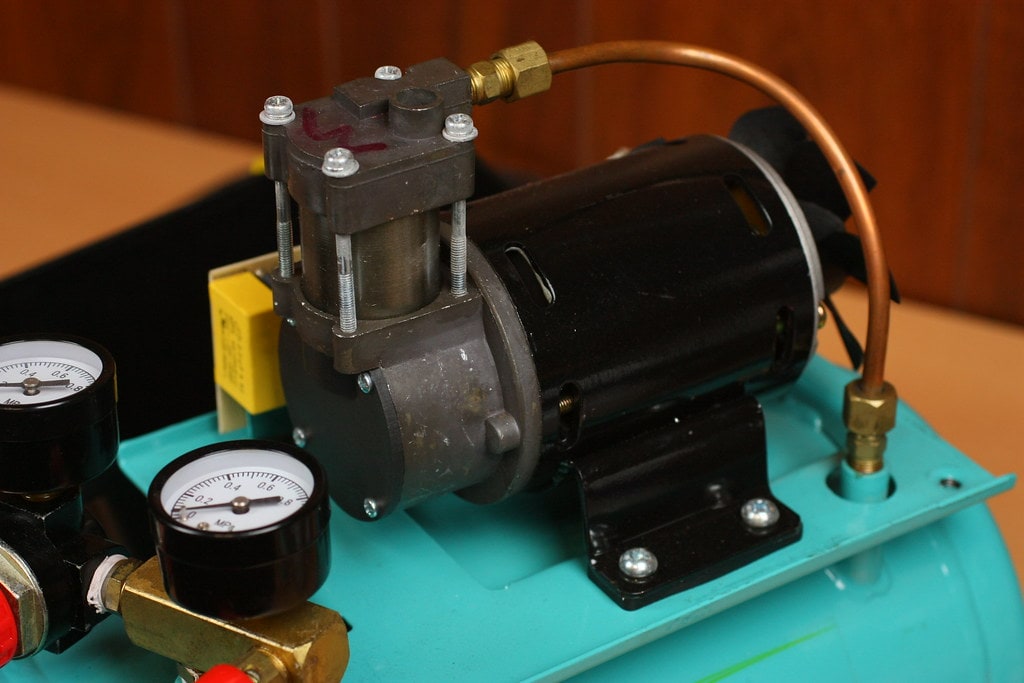
The first thing to do is purchase an air compressor and blow out plug from an RV store. When you have done this, time to start.
Find the water source of your RV and disconnect it. Afterwards, turn off all the power of your RV. This includes the propane.
While we stated that all water must be taken out, the water from the water heater must be excluded, at least at this time. If your RV does not have a water heater, you can purchase and install an affordable kit.
For all the other parts like the refrigerator, washing machine, ice maker, and dishwasher, refer to the manual for some quick winterizing instructions.
Next, we start draining things like all the faucets, showers, and bathtub if your RV has one. Open all of these, as well as the system drain valves. If you aren’t quite sure where the valves are, refer to the owner’s manual once more.
At the same time, flush the toilet in order to clear water from the line.
Now, retrieve the blow out plug you purchased and connect it to the city water inlet. Take note that you should not connect it to the fresh water tank.
Then you’d want to adjust the pressure from the air compressor to just 30 psi. This level was chosen so that no water lines would be damaged. Afterwards, connect the compressor to the blow out plug.
Start the compressor and let it blow until all the water from the faucets and drain valves is expelled. Once done, don’t forget to take out the compressor and blow out plug.
Rounding out the process, you’ll want to flush out the black and gray water tanks. Drain the fresh water tank as well and close the drain valves.
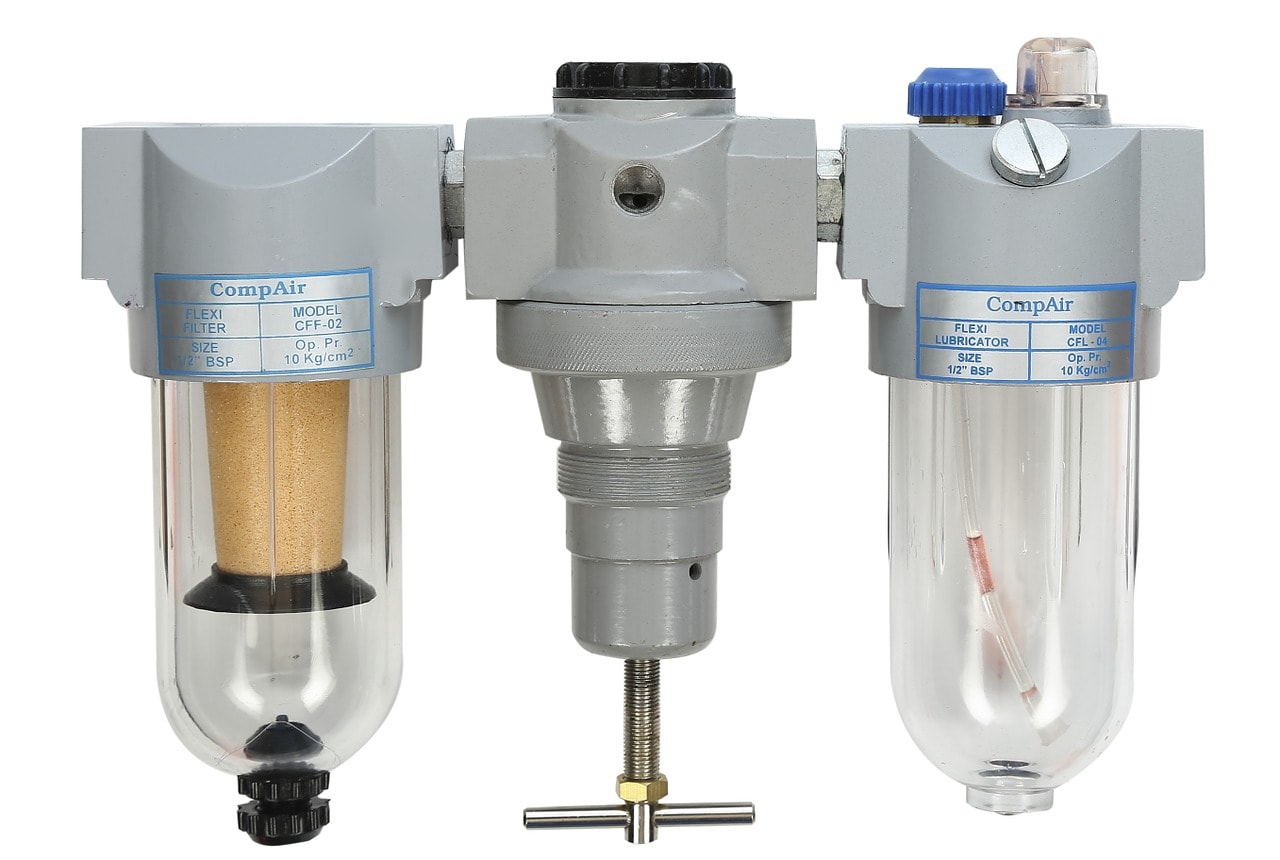
In order to add an extra layer of protection, you’ll want to add some special RV antifreeze. This is characterized by it’s pink color. Add about one quart to the black and gray tanks. This will help to protect the valves and drains. You’ll want to repeat this process in all sinks, shower drains, pipe traps, and toilet bowls.
Finally, open the water heater drain and empty out this tank. If there are any sediments left, flush them out with any water. You’ll want to leave this drain plug open until spring time.
Method 2 – Using Antifreeze
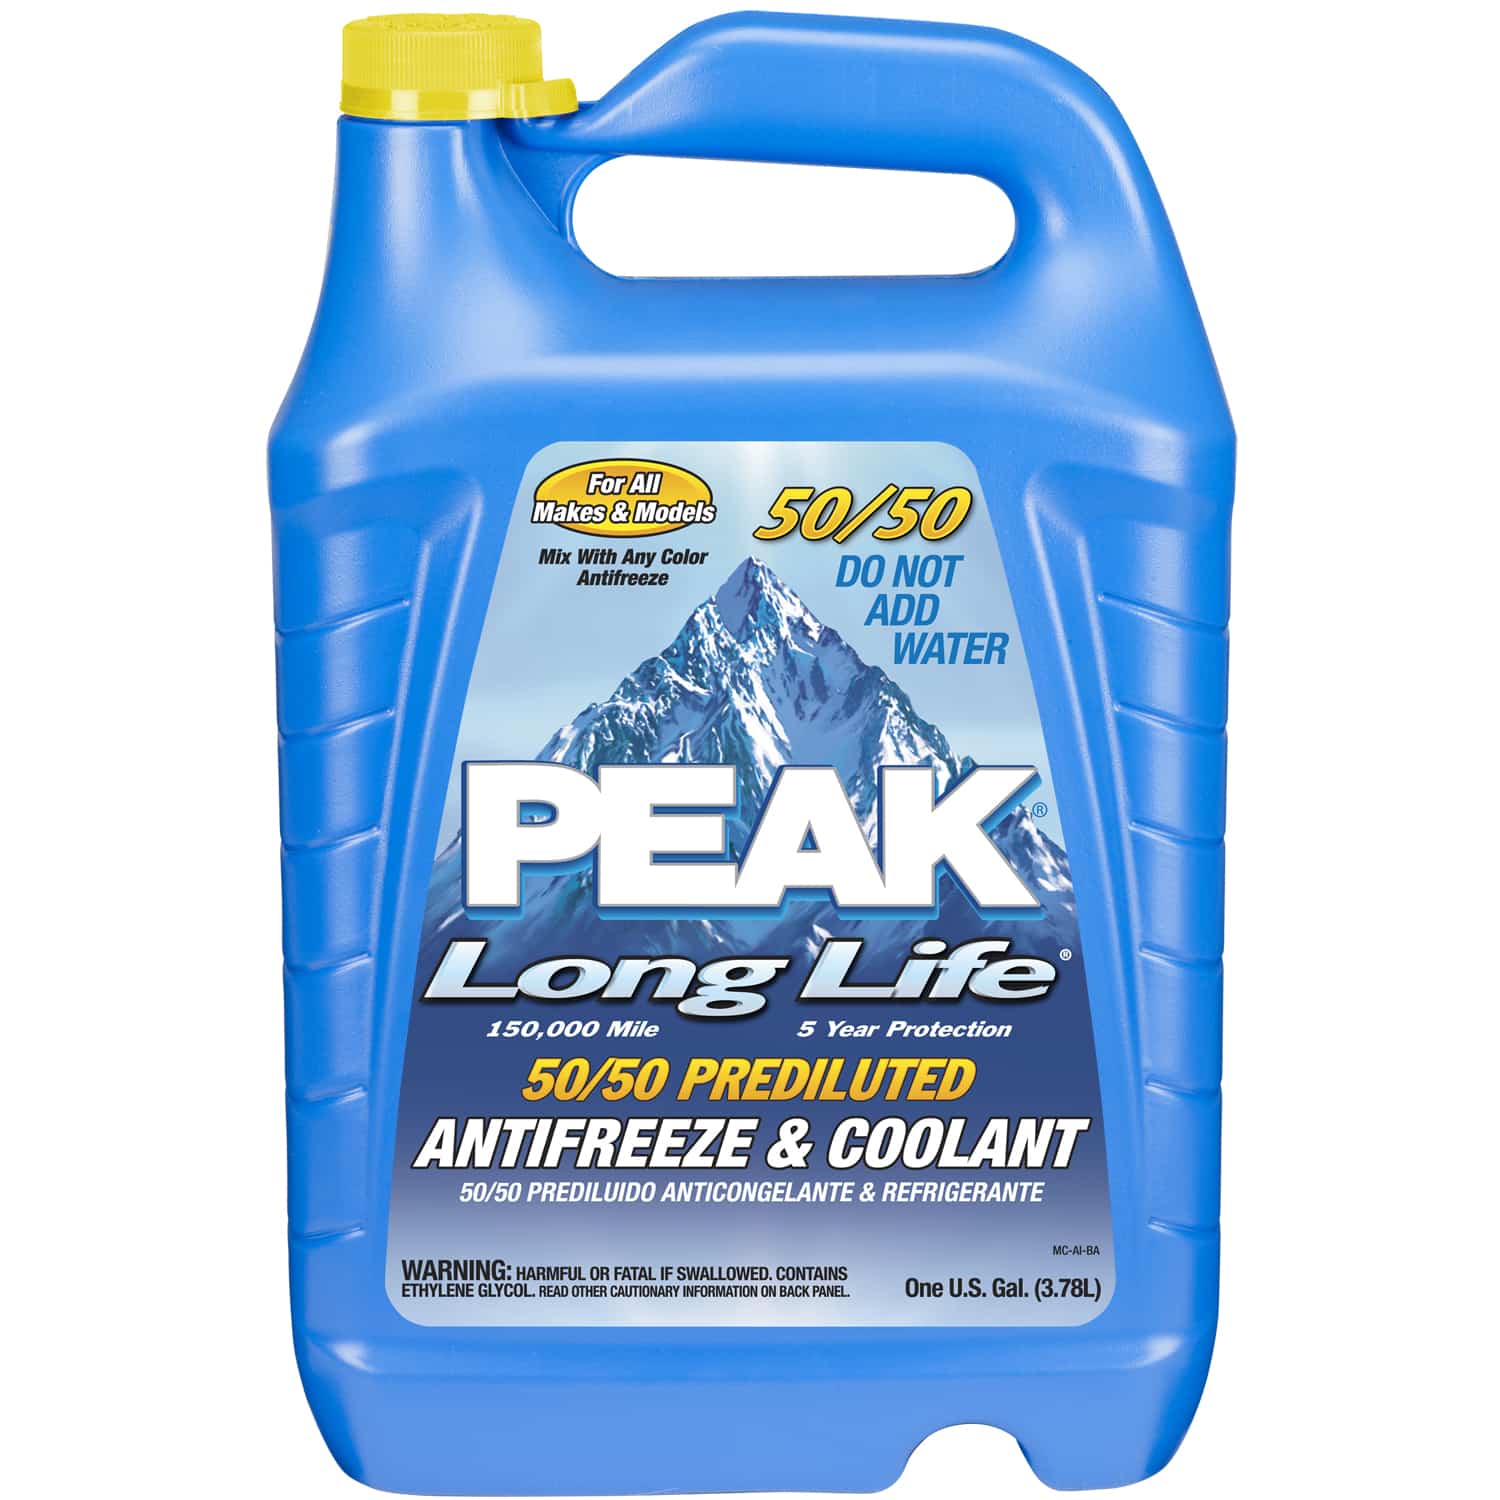
Another method for winterizing your RV unit’s plumbing system is to utilize antifreeze. For this though, you’ll need to have about 2 to 3 gallons of antifreeze on hand. This is all dependent on the size of your RV.
There are two ways to go about it. The first is via an external hand pump. The process is quite similar to the one with using the compressor and blow out plug. Again, it is important to remember that you should bypass the water heater.
Once you have completed the first few steps, it is time to use the antifreeze. Connect the intake siphon on the hand pump to the RV antifreeze bottle. You’ll be siphoning the antifreeze into the system.
Afterwards, you’ll want to connect the output hose of the pump to the city water inlet.
The next step is to close all the faucets and drain valves. When this is done, open the hot water faucet first. This is best done in the kitchen sink. Do so until the sink runs the pink antifreeze. Afterwards, you’ll want to do the same for the cold faucet.

You’ll want to do this for all the faucets in the RV. These include the shower, bathroom sink, and then the toilet.
The other method is by using the internal water pump. While mostly the same with the external water pump, the main difference is that you’ll be utilizing the water pump bypass valve. The RV antifreeze will draw in through here and be coursed through the whole water system.
If you aren’t quite sure about this system, refer to the RV pump bypass valve instructions to get a clearer picture of how it works.
Other Winterizing Considerations
With the plumbing taken care of, it is time to consider other vital things that you need to winterize.
The Engine
For many motorhomes, you should fill the fuel tanks. This is done in order to stop any condensation from forming.
Apart from that, you’ll need to add fuel stabilizers. This additive needs to flow through the system once added. Run the car for a few minutes to have the additives make their way through the system.
Other actions will require you to add automotive antifreeze to the radiator, and checking the windshield washer solution and oil and brake fluids. Fill these up as needed.
Batteries
Much like the other fluids, the battery fluids should be topped off as well. Ensure to wear the right protective equipment like protection for the eyes and gloves when doing these.
Charge the batteries to full for the season. Afterwards, remove the batteries and store them in a dry area. If not, simply disconnect the negative for safety reasons. Start with the negative side.
RV Tires
If your RV will be kept at a location for quite some time, the tires could have flat spots. This is naturally because of all the weight the RV puts on them.
An easy way to get around this problem is by using leveling jacks. Bear in mind that this is different from stabilizing jacks.
Also, park your RV on a concrete surface. If it isn’t, the tires may sink straight into the ground due to the winter’s effects on the soil. Finally, set the parking brakes and place wheel chocks.
The Electrical System
In order to protect your RV’s electrical system, the first thing you should do is turn off the main circuit breaker. This will ultimately protect the 120V AC system.
At the same time, you should remove the connection of the rig to the shore power. Similarly, remove all the batteries from any electronics you may have. These include clocks, alarms, and radios.
Finally, block off the exhaust pipe with some aluminum foil or even steel wool. This will help protect you from any pests coming in.
When Winter Gives Way
We hope that this guide has been instrumental in helping you winterize your RV. We hope that you properly winterize your RV so that when winter gives way, you won’t have many problems with your RV.
In addition, please bear in mind that there may be more RV parts that you may need to winterize. We have covered most of the important ones, but keep your eyes and ears open for other tips that can help you with the winterizing process.
Have a happy winter!
You might also wanna check our article on WHICH RV MANUFACTURERS ARE RATED BEST.